: Get Creative with Resin Epoxy Clocks
The beauty of resin epoxy clocks
Have you ever considered creating your own stunning timepieces using resin epoxy? Resin epoxy clocks are not only functional but can also be a beautiful and unique addition to any room in your home. With a wide range of colors, patterns, and designs to choose from, the possibilities are endless when it comes to creating your own resin epoxy clock.
Materials Needed
Gather your supplies
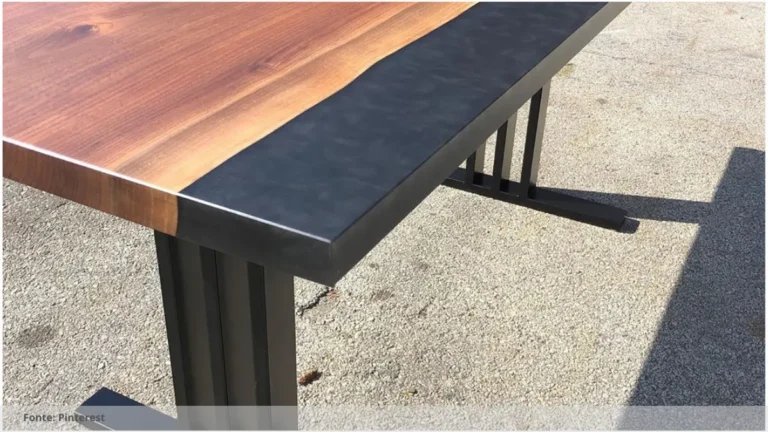
Before you begin creating your resin epoxy clock, you will need to gather a few key materials. These include a clock mechanism, a wooden base, resin epoxy, pigments or dyes, mixing cups, stirring sticks, and a heat gun or torch for removing air bubbles.

Choosing the right materials
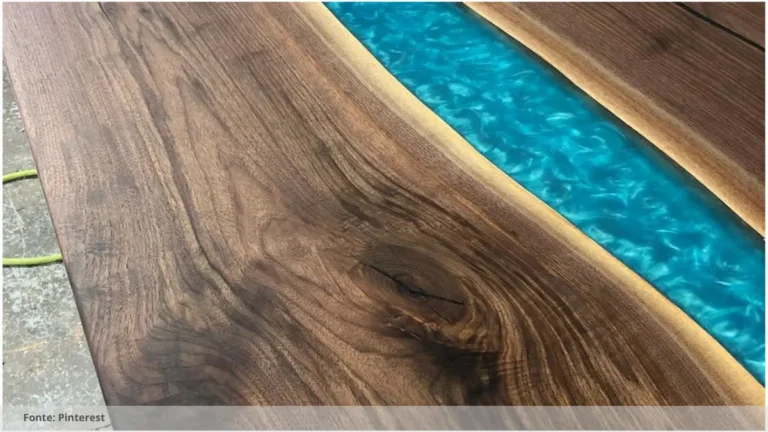
When selecting materials for your resin epoxy clock, be sure to choose a high-quality resin epoxy that is specifically designed for creating clocks. This will ensure that your clock is durable and long-lasting. Additionally, select pigments or dyes that are compatible with resin epoxy to achieve the desired color and design for your clock.
Creating Your Resin Epoxy Clock
Prepare your work area
Before you begin working with resin epoxy, it is important to prepare your work area by covering surfaces with a protective layer such as plastic or a silicone mat. This will help to prevent any spills or drips from damaging your workspace.
Mixing and pouring the resin
To create the base of your resin epoxy clock, carefully measure and mix the resin epoxy according to the manufacturer’s instructions. Once the resin is thoroughly mixed, pour it onto the wooden base and spread it evenly with a stirring stick. Use a heat gun or torch to remove any air bubbles that may have formed.
Adding the Clock Mechanism
Installing the clock mechanism
Once the resin epoxy has cured, it is time to install the clock mechanism. Follow the manufacturer’s instructions for attaching the clock hands and securing the mechanism to the base of your clock. Ensure that the hands are positioned correctly and that the mechanism is securely attached.
Finishing touches
Once the clock mechanism is in place, your resin epoxy clock is almost complete. Add any additional decorative elements such as metallic accents, glitter, or decals to personalize your clock and make it truly unique. Hang your clock in a prominent place in your home and enjoy the beauty and functionality of your handmade resin epoxy timepiece.
In conclusion, creating resin epoxy clocks can be a fun and rewarding DIY project that allows you to showcase your creativity and style. With a few key materials and some basic instructions, you can create stunning timepieces that will be admired by all who see them. So why not give it a try and start making your own resin epoxy clock today?
Read the Recent Articles of the Day by Clicking Here!
When creating resin epoxy clocks, it is important to pay attention to the materials and tools being used. Make sure to choose a high-quality resin epoxy that is safe to use and will provide a clear, durable finish. Additionally, consider the type of clock mechanism you will use and how it will be incorporated into the design.
It is also crucial to carefully follow the DIY instructions provided with the resin epoxy clock kit. Take your time and ensure that each step is completed accurately to achieve the desired result. Pay attention to the curing times and allow the resin to fully cure before attempting to assemble and use the clock.
Experiment with different colors, additives, and embellishments to create stunning and unique timepieces. Remember that resin epoxy can be easily manipulated and molded, so don’t be afraid to get creative with your designs. Whether you’re making a minimalist modern clock or a bold statement piece, the possibilities are endless with resin epoxy clocks.

Frequently Asked Questions: Resin epoxy clock
What materials are needed for making a resin epoxy clock?
Materials needed for making a resin epoxy clock include epoxy resin, clock mechanism, pigment dyes, mixing cups, stirring sticks, silicone molds, and any desired decorative elements such as glitter or stickers.
Are there any specific tips for creating unique clock designs?
When creating unique clock designs, consider using unconventional materials, experimenting with shapes and sizes, incorporating personalized elements, and drawing inspiration from nature, art, or architecture.
Can beginners easily follow the DIY instructions for resin clocks?
Yes, beginners can easily follow the DIY instructions for resin clocks as long as they carefully read and follow the step-by-step guide provided. Practice and patience are key.
How long does it take for the epoxy resin to cure?
The curing time for epoxy resin varies based on the specific product, but typically ranges from 24 to 72 hours for a full cure.
So, what do you think about this subject? Share your opinion in the comments and let’s continue discussing together!