Resin Epoxy Clock: A Comprehensive Guide to Creating Stunning Timepieces
Resin Epoxy Clock
Creating your very own resin epoxy clock can be a fun and rewarding project. With a few simple materials and a bit of creativity, you can transform a basic clock kit into a stunning piece of art that will add a touch of elegance to any room in your home.
Gather Your Materials
Before you begin, make sure you have all the necessary materials on hand. You will need a clock kit, resin epoxy, pigment dyes or other embellishments, a mixing cup and stir stick, and a disposable container for pouring the resin.

Prepare the Clock Face
Start by assembling the clock kit according to the instructions that came with it. Once the clock face is ready, you can begin to customize it with resin epoxy.
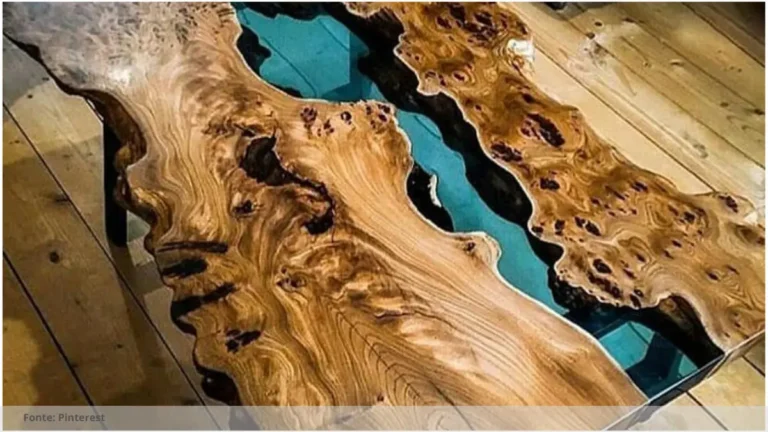
Create a Stunning Design
Mix the resin epoxy according to the manufacturer’s instructions, adding pigment dyes or other embellishments as desired. Pour the resin onto the clock face, using a stir stick to spread it evenly and create a smooth surface.
Curing and Finishing
Allow the resin to cure for the recommended amount of time, typically to hours. Once the resin is completely cured, you can add the clock hands and any other finishing touches to your stunning resin epoxy clock. Enjoy your unique creation for years to come!
Read the Recent Articles of the Day by Clicking Here!
One important suggestion for creating stunning resin epoxy clocks is to carefully plan out the design and color scheme before beginning the project. Consider how the colors and patterns will work together, and think about how they will complement the overall aesthetic of the room where the clock will be displayed. By taking the time to carefully plan out the design, you can ensure that the finished clock will be a visually striking and cohesive piece that enhances the space it is placed in.

Frequently Asked Questions: Resin epoxy clock
What materials are needed to make a resin epoxy clock?
Materials needed to make a resin epoxy clock include epoxy resin, clock mechanism, mold, pigment or dye, mixing cups, stir sticks, gloves, heat gun, and any additional decorations or embellishments.
How do you mix and pour resin for a clock?
To mix and pour resin for a clock, measure equal parts resin and hardener, mix slowly to avoid bubbles, pour in multiple thin layers, and allow to cure before assembling the clock.
Can you customize resin clocks with different colors and designs?
Yes, resin clocks can be customized with various colors and designs. Resin allows for flexibility in creating unique combinations to suit specific preferences and styles.
Are there any tips for achieving a professional-looking finish?
Some tips for achieving a professional-looking finish include proper preparation, using high-quality materials, taking your time, and paying attention to detail throughout the process.
So, what do you think about this subject? Share your opinion in the comments and let’s continue discussing together!