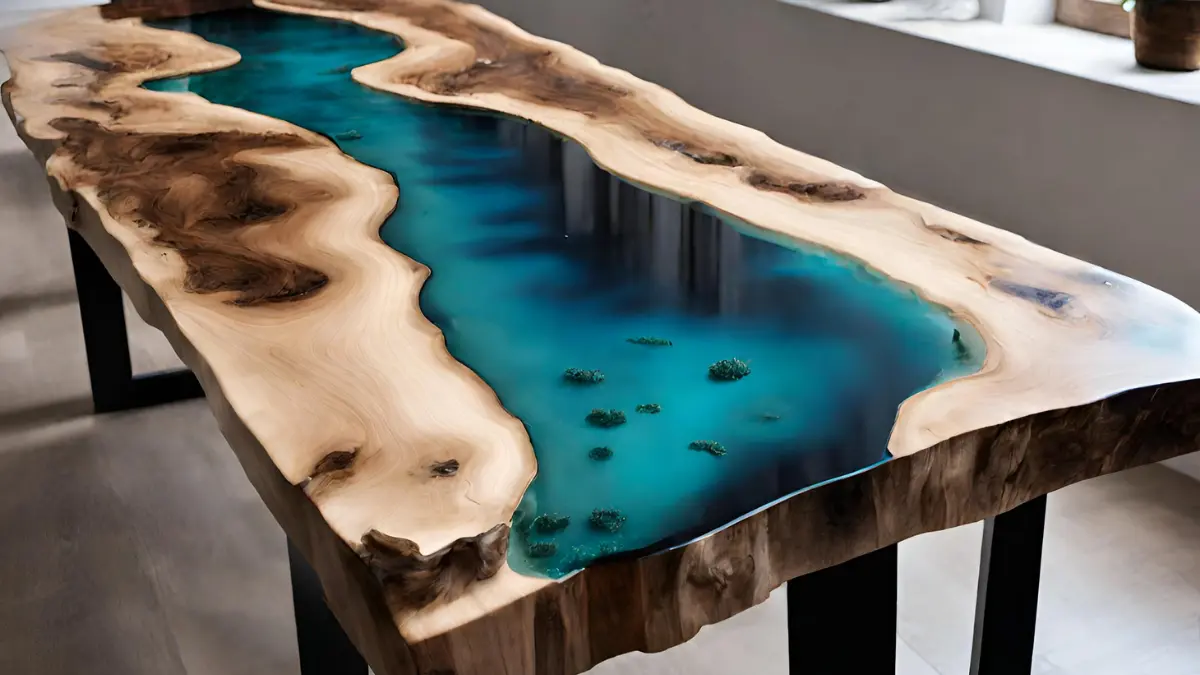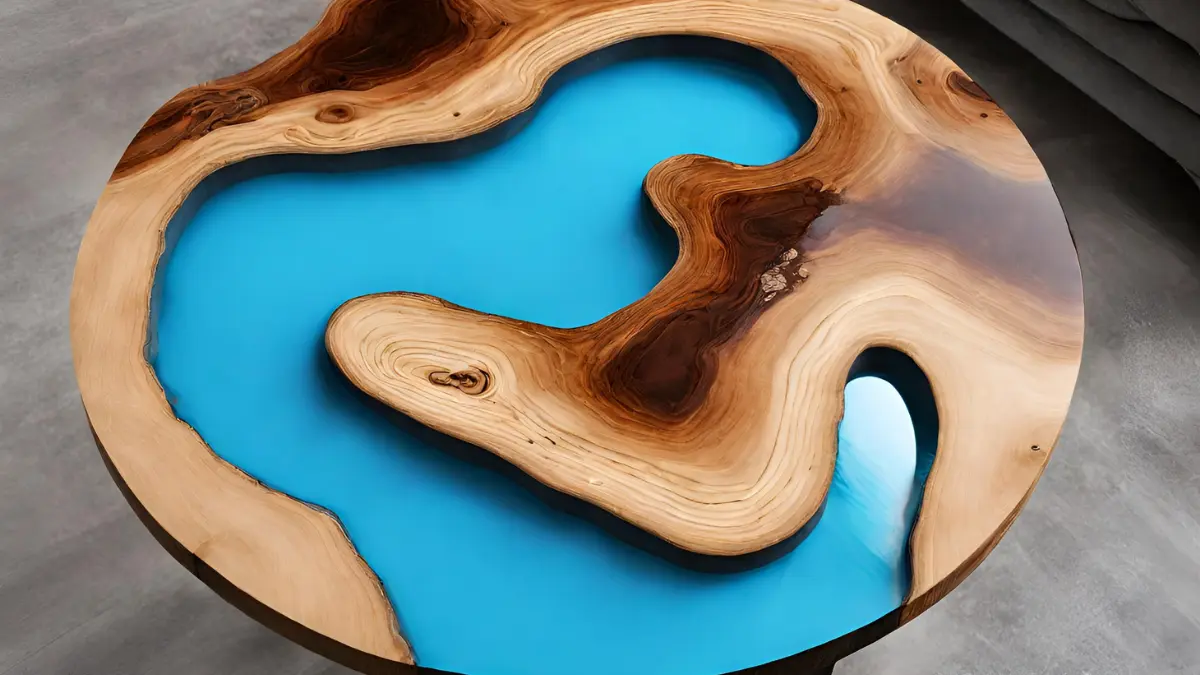
Epoxy Table Beach Scene: How to Create a Stunning Ocean-Inspired Tabletop
Creating a stunning ocean-inspired tabletop using epoxy is a great way to bring the beauty of the beach into your home. By following a few simple steps, you can transform a plain table into a work of art that captures the essence of the sea. Whether you’re a DIY enthusiast or just looking for a fun project, making an epoxy table beach scene is a creative and rewarding endeavor.
Gather Your Materials
Before you begin, make sure you have all the necessary materials on hand. You’ll need a table with a smooth surface, epoxy resin, resin dye in various shades of blue and white, mixing cups, stirring sticks, a heat gun or torch for removing air bubbles, and any additional decorative elements you want to include in your design.
Prep Your Workspace
Set up a well-ventilated and dust-free workspace for your epoxy table project. Cover the floor and surrounding surfaces with plastic sheets or drop cloths to protect them from spills and drips. Make sure your table is clean and level before you begin the epoxy pouring process.
Mix and Pour the Epoxy
Follow the manufacturer’s instructions to mix the epoxy resin and dye in separate containers. Start by pouring a thin layer of clear epoxy onto the table surface to act as a base. Then, add drops of blue and white dye to create swirls and waves that mimic the look of the ocean. Use a heat gun or torch to remove any air bubbles that may form during the mixing and pouring process.
Add Decorative Elements
Once the epoxy has been poured and spread evenly across the table, you can add decorative elements to enhance the beach scene. Consider incorporating seashells, sand, or small pebbles into the design to add texture and visual interest. You can also use a fine-tipped brush to create intricate details like rippling waves or foam on the surface of the table.
Read the Recent Articles of the Day by Clicking Here!
When creating an epoxy table beach scene, it is important to pay attention to the details in order to achieve a stunning ocean-inspired tabletop. Here are some suggestions to help you create a beautiful and realistic beach scene:
1. Choose high-quality materials: Start by selecting a high-quality wood slab or table base that will serve as the foundation for your epoxy beach scene. Opt for a sturdy and durable material that will hold up well under the weight of the epoxy and other decorative elements.
2. Plan your design: Before starting your project, sketch out a rough design of your beach scene to ensure that you have a clear vision of how you want the final product to look. Consider the placement of elements such as sand, shells, sea glass, and other beach-inspired decorations.
3. Use multiple layers of epoxy: To create depth and dimension in your beach scene, pour multiple layers of epoxy resin onto the tabletop. Each layer should be allowed to partially cure before adding the next layer to prevent bleeding between the different elements.
4. Add texture and dimension: To make your beach scene appear more realistic, incorporate texture and dimension into the design. You can achieve this by embedding real sand, shells, and other natural materials into the epoxy resin. Consider layering different elements to create a sense of depth in your tabletop.
5. Experiment with color: Play around with different shades of blue, green, and white to mimic the colors of the ocean and create a visually stunning beach scene. You can also add touches of gold or silver to represent shimmering sunlight on the water.
6. Seal and protect your tabletop: Once your epoxy beach scene is complete, seal and protect the tabletop with a high-quality epoxy or polyurethane topcoat. This will help protect the surface from scratches, stains, and UV damage, ensuring that your stunning ocean-inspired tabletop remains beautiful for years to come.
By following these suggestions and paying attention to the details, you can create a truly breathtaking epoxy table beach scene that will enhance the beauty of any space.

Frequently Asked Questions: Epoxy table beach scene
What materials do I need to create an epoxy beach scene?
To create an epoxy beach scene, you will need epoxy resin, resin coloring, various sizes and colors of sand, shells, pebbles, and any other beach-themed embellishments you desire.
Can I customize the colors and details in the epoxy?
Yes, you can customize the colors and details in epoxy by adding pigments, metallic powders, glitters, and other additives to achieve your desired look and style.
How long does it take for the epoxy to fully cure?
The time it takes for epoxy to fully cure can vary depending on the type and brand of epoxy used, but generally, it can take anywhere from 24 to 72 hours.
What tips can you provide for achieving a realistic beach scene?
To achieve a realistic beach scene, focus on creating depth with varying shades of blue for the ocean, adding texture to the sand, incorporating realistic flora, and paying attention to lighting.
So, what do you think about this subject? Share your opinion in the comments and let’s continue discussing together!


