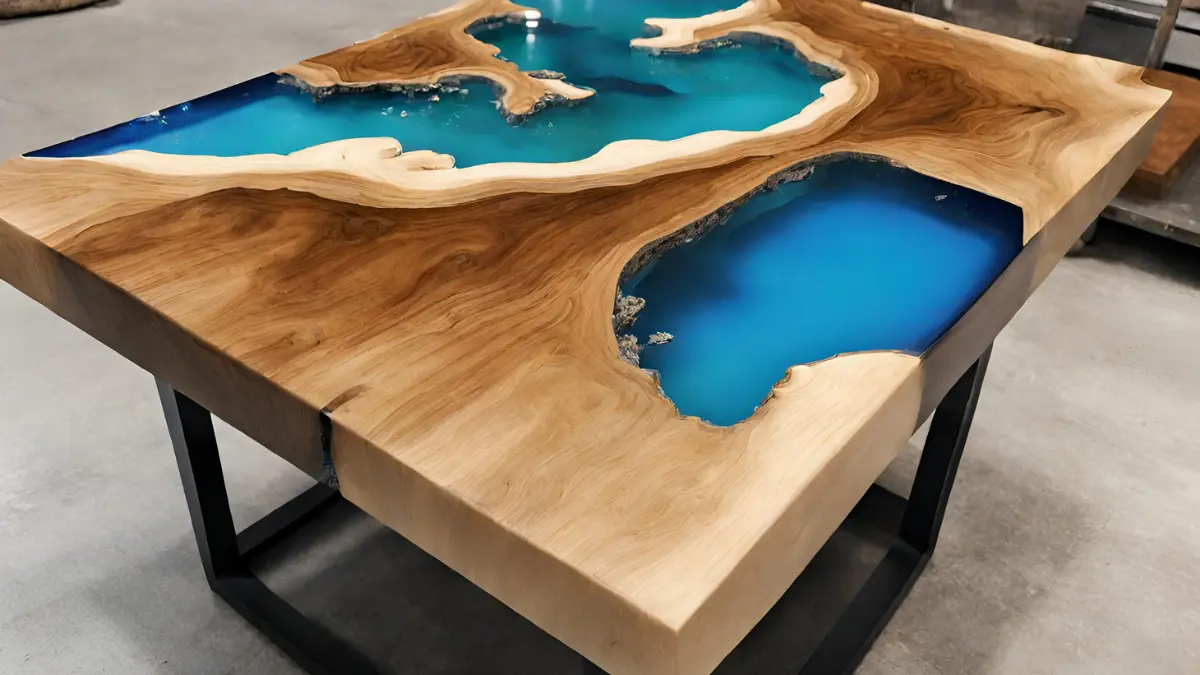
Epoxy Table Build: Step-by-Step Guide to Creating Stunning Resin Tables
The Beauty of Epoxy Tables
Epoxy tables have been gaining popularity in the world of furniture design for their unique and stunning finish. The glossy, glass-like appearance of resin combined with wood creates a striking piece that is sure to be a conversation starter in any room. Whether you’re a seasoned DIYer or looking to dip your toes into the world of furniture making, creating your own epoxy table can be a rewarding and fulfilling project.
Gathering Materials
Before you begin the epoxy table build, it’s essential to gather all the necessary materials. This may include a slab of wood for the tabletop, epoxy resin, mixing cups, stirring sticks, gloves, a blowtorch or heat gun, and a sander. Make sure to carefully read the instructions on the epoxy resin packaging and familiarize yourself with the mixing ratios and curing times.
Preparing the Wood
Start by sanding down the wood slab to create a smooth and even surface for the epoxy to adhere to. You can also fill in any cracks or imperfections with wood filler before sanding. Once the wood is prepped and ready, it’s time to create the mold for pouring the epoxy. This can be done using materials such as silicone molds or building a simple form out of cardboard or wood.
Pouring the Epoxy
Once the mold is in place and the wood is prepped, mix the epoxy resin according to the instructions. This process typically involves combining the resin and hardener in the correct ratio and stirring thoroughly to ensure a uniform consistency. Carefully pour the epoxy onto the wood slab, making sure to spread it evenly across the surface. Use a blowtorch or heat gun to remove any air bubbles that may have formed during the pouring process.
Curing and Finishing
After pouring the epoxy, allow it to cure according to the manufacturer’s instructions. This may involve covering the tabletop with a plastic sheet to prevent dust from settling on the surface while it cures. Once the epoxy has fully hardened, remove the mold and sand down any rough edges. Apply a clear coat or finish to protect the tabletop and enhance the shine of the resin. Your stunning epoxy table is now complete and ready to be showcased in your home!
Creating an epoxy table can be a fun and rewarding DIY project that allows you to unleash your creativity and craft a unique piece of furniture. With the right materials, preparation, and technique, you can create a stunning resin table that will be the envy of all your friends and family. So roll up your sleeves, gather your supplies, and get ready to embark on a journey to creating your own beautiful epoxy table.
Read the Recent Articles of the Day by Clicking Here!
One important suggestion for creating stunning resin tables with epoxy is to carefully measure and mix the epoxy resin according to the manufacturer’s instructions. Properly measuring and mixing the resin will ensure that it cures correctly and creates a durable and beautiful finish on your table. It is also important to work in a well-ventilated area and wear appropriate safety gear, such as gloves and a mask, to protect yourself from the fumes and chemicals in the epoxy resin. Taking these precautions will help you create a high-quality epoxy table that will last for years to come.

Frequently Asked Questions: Epoxy table build
What materials are needed for building an epoxy table?
Materials needed for building an epoxy table include epoxy resin, hardener, wood table top, color pigments, gloves, mixing cups, stirring sticks, sandpaper, and a heat gun.
Are there different techniques for pouring epoxy resin?
Yes, there are various techniques for pouring epoxy resin, such as the “dirty pour,” “ocean pour,” “resin geode,” and “blow torch method” among others. Each technique creates different effects.
How can I achieve stunning designs with epoxy tables?
Achieve stunning designs with epoxy tables by experimenting with different color combinations, adding textures, using molds, incorporating natural elements, and practicing patience and precision during the pouring and curing process.
Is it necessary to have woodworking experience for this project?
While woodworking experience would be helpful, it is not necessary for this project. With proper guidance and instructions, anyone can successfully complete the project regardless of woodworking experience.
So, what do you think about this subject? Share your opinion in the comments and let’s continue discussing together!
