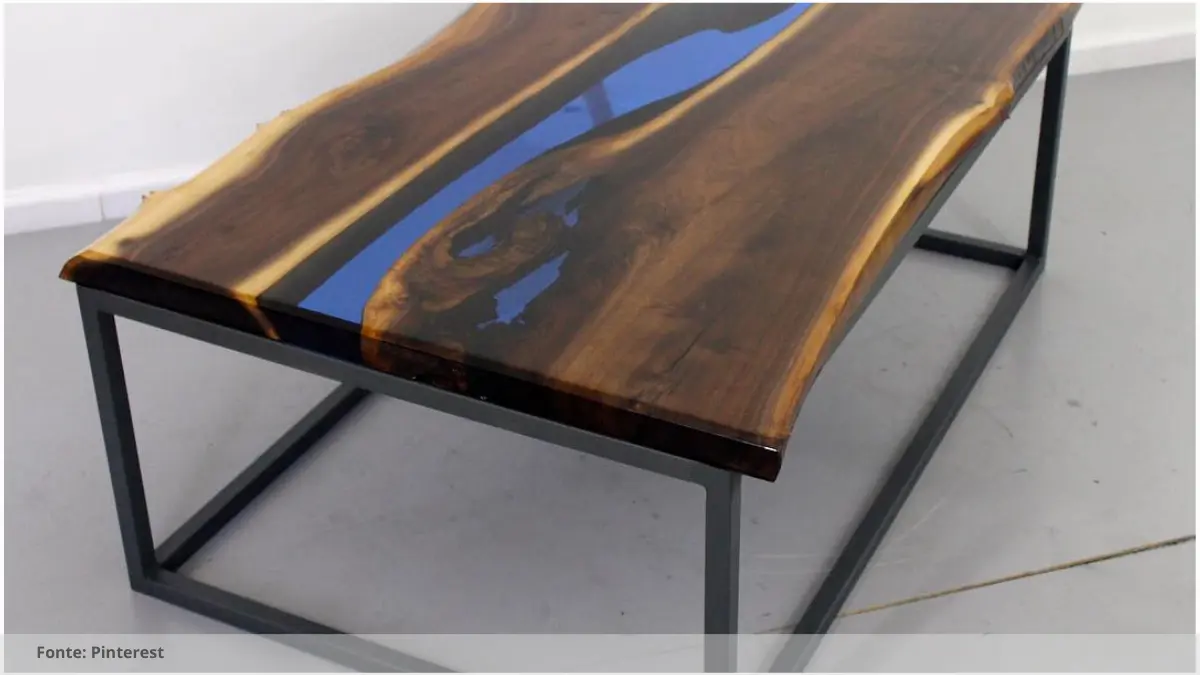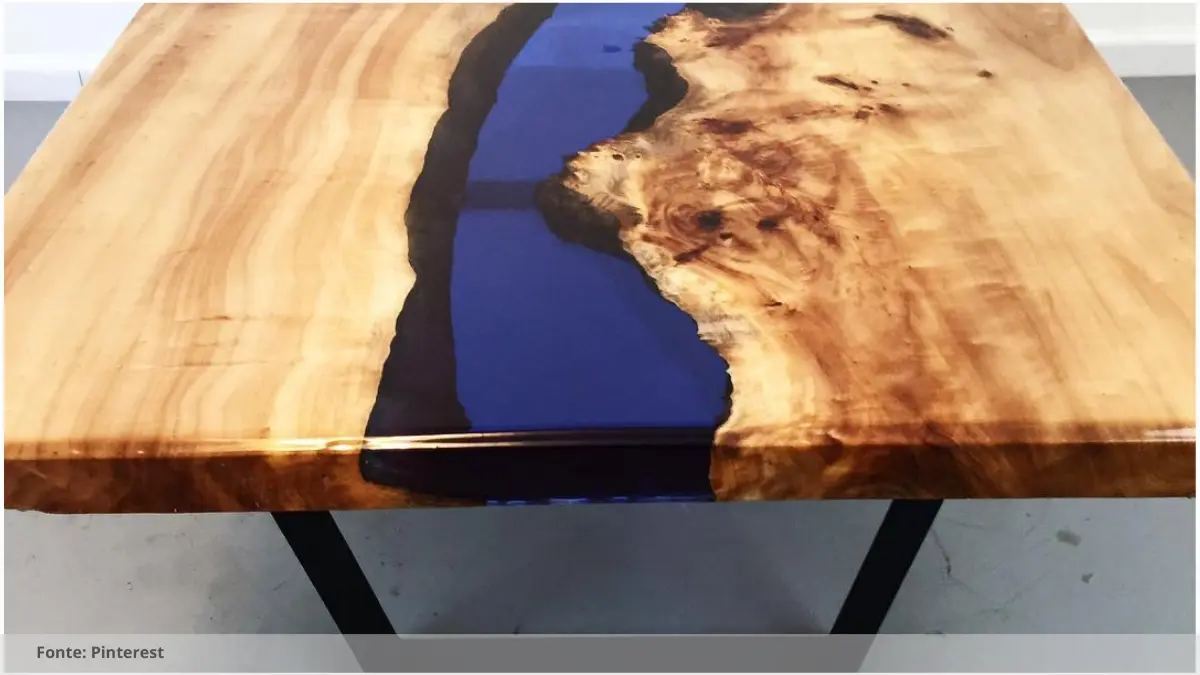
How to Do Epoxy Wood Table
Epoxy wood tables have become increasingly popular in recent years due to their stunning, glossy finish and durability. Creating your own epoxy wood table can be a fun and rewarding DIY project that will add a touch of elegance to your home decor. In this step-by-step guide, we will walk you through the process of creating your own epoxy wood table.
Materials Needed
Before you get started on your epoxy wood table project, you will need to gather the following materials:
– Wood table
– Epoxy resin
– Epoxy hardener
– Mixing cups
– Stir sticks
– Heat gun
– Sandpaper
– Safety gloves
– Protective eyewear
Preparing the Wood Table
The first step in creating your epoxy wood table is to prepare the wood surface. Sand the table to remove any rough spots or imperfections. Make sure the surface is smooth and clean before moving on to the next step.
Mixing the Epoxy Resin
Next, it’s time to mix the epoxy resin and hardener together. Follow the instructions on the packaging carefully to ensure the proper ratio of resin to hardener. Stir the mixture thoroughly to avoid any lumps or bubbles.
Applying the Epoxy Resin
Once the epoxy resin is mixed, pour it onto the wood table surface. Use a spreader or brush to evenly coat the surface, making sure to cover all areas. You can also use a heat gun to help remove any bubbles that may form during the application process.
Curing and Finishing
After applying the epoxy resin, allow the table to cure for the recommended time. This can vary depending on the brand of resin you are using, so be sure to check the instructions. Once the resin has cured, you can sand the surface lightly to remove any imperfections and add a final coat of epoxy for a smooth, glossy finish.
Creating your own epoxy wood table is a fun and rewarding project that can add a touch of elegance to your home decor. By following this step-by-step guide, you can achieve stunning results that will impress your family and friends. So why wait? Start your epoxy wood table project today and enjoy the beautiful results for years to come.
Read the Recent Articles of the Day by Clicking Here!
When creating an epoxy wood table, it is important to follow a step-by-step guide to ensure stunning results. Here are some important tips and suggestions to consider during the process:
1. Choose the right wood: Select a high-quality wood for your table, such as oak, walnut, or maple, as these types of wood work well with epoxy resin.
2. Prepare the wood: Sand down the wood surface to remove any imperfections or rough spots. Make sure the wood is smooth and clean before starting the epoxy application.
3. Measure and mix the epoxy: Follow the instructions on the epoxy resin packaging to properly measure and mix the resin and hardener. Be sure to mix thoroughly to prevent any streaks or bubbles in your final product.
4. Apply the epoxy: Pour the epoxy resin onto the wood surface in a thin, even layer. Use a spreader or brush to evenly distribute the resin and cover the entire surface of the wood.
5. Add any desired color or effects: If you want to add color or other effects to your epoxy table, now is the time to do so. You can mix in pigments, dyes, or metallic powders to create a unique design.
6. Seal the edges: Use painter’s tape to create a barrier around the edges of the table to prevent the epoxy from dripping over the sides. This will help create a clean, finished edge on your table.
7. Let it cure: Allow the epoxy resin to cure for the recommended time specified on the packaging. This can take anywhere from 24 to 72 hours, depending on the type of resin you are using.
8. Sand and polish: Once the epoxy is fully cured, sand down any rough spots or imperfections on the surface. Then, polish the table to bring out the shine and smooth finish of the epoxy.
Following these steps and suggestions will help you create a stunning epoxy wood table that is sure to impress. Remember to take your time and pay attention to detail throughout the process for the best results.

Frequently Asked Questions: How to do epoxy wood table
What materials do I need for epoxy wood table project?
For an epoxy wood table project, you will need epoxy resin, wood pieces, measuring cups, mixing cups, mixing sticks, sandpaper, protective gear, and a surface to work on.
How long does it take for epoxy resin to cure?
It typically takes epoxy resin 24-72 hours to fully cure, depending on the specific brand and type of resin used. Factors such as temperature and humidity can affect curing time.
Can I use any type of wood for an epoxy table?
Yes, you can use various types of wood for an epoxy table, such as walnut, oak, or cherry. It is essential to choose a sturdy and dry wood for the project.
Do I need special tools for creating an epoxy wood table?
Yes, you will need certain tools such as a sander, router, clamps, and mixing tools to create an epoxy wood table properly. These tools will help achieve a smooth and professional finish.
So, what do you think about this subject? Share your opinion in the comments and let’s continue discussing together!


