How to Epoxy Wood Table Top
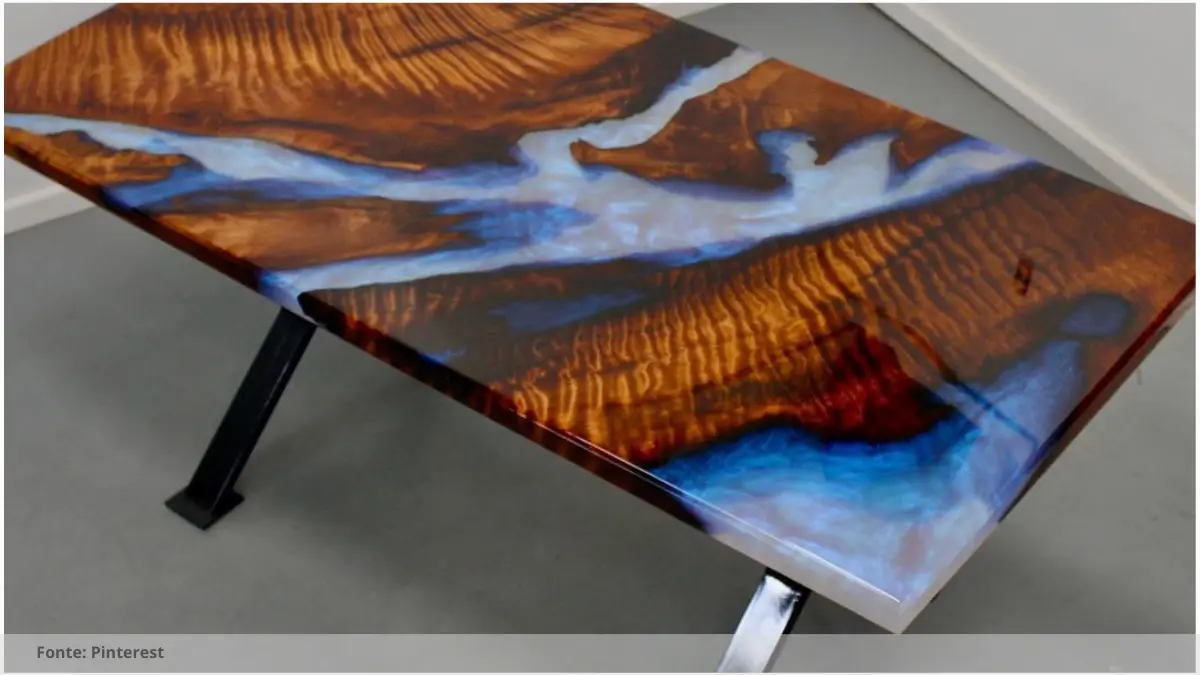
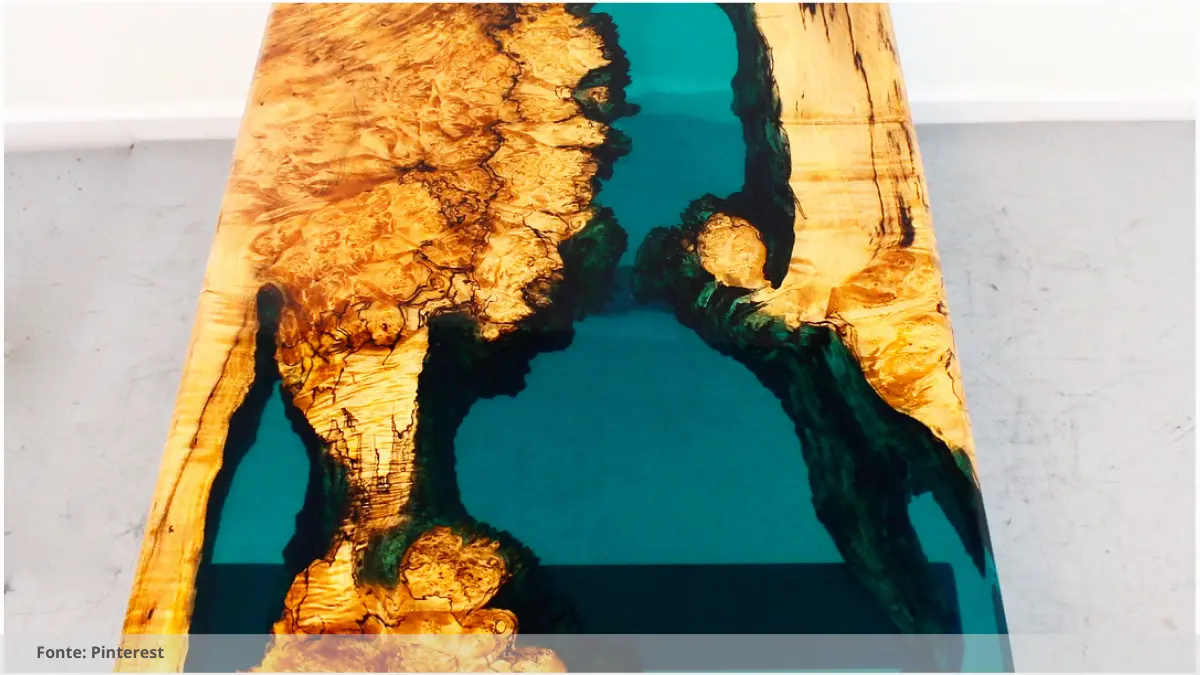
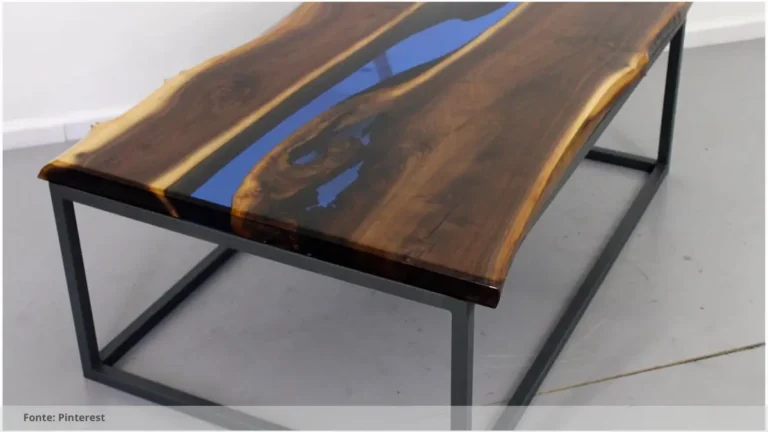
Wooden table tops bring a natural warmth and charm to any space, but they can also be prone to wear and tear over time. One popular solution to this problem is to epoxy the wood, creating a durable and beautiful finish that will protect the table for years to come. In this comprehensive guide, we will explore the process of how to epoxy a wood table top, from preparation to finishing touches.
Choosing the Right Epoxy
Not all epoxies are created equal, so it’s important to choose the right one for your project. Look for a high-quality epoxy that is specifically designed for use on wood surfaces. It should be non-toxic, self-leveling, and resistant to UV rays to prevent yellowing over time. Take the time to read reviews and ask for recommendations to ensure you get the best results.
Preparing the Wood Surface
Before you can begin epoxying your wood table top, you’ll need to prepare the surface properly. Start by sanding down the wood to create a smooth and even surface. Remove any dust and debris with a tack cloth, then wipe the surface down with a damp cloth to remove any remaining residue. Tape off the edges of the table to protect them from drips and spills.
Mixing the Epoxy
Follow the manufacturer’s instructions to mix the epoxy resin and hardener in the correct ratio. Use a clean, dry container and stir the mixture thoroughly to ensure a consistent and uniform finish. Avoid overmixing, as this can introduce air bubbles into the mixture, which can affect the final result.
Applying the Epoxy
Pour a small amount of epoxy onto the center of the table top and use a foam brush or squeegee to spread it out evenly. Work quickly and methodically, ensuring that the entire surface is covered with a thin layer of epoxy. Use a heat gun or blow torch to remove any air bubbles that may have formed during application.
Finishing Touches
Once the epoxy has cured, carefully remove the tape from the edges of the table and sand down any drips or imperfections. Apply a coat of polyurethane or wax to protect the epoxy and give the table a glossy finish. Allow the table to cure for at least hours before using it, to ensure that the epoxy has fully hardened.
With these steps, you can easily epoxy your wood table top and create a beautiful and durable finish that will protect your table for years to come. Enjoy the beauty of a wooden table with the added benefit of a long-lasting epoxy finish!
Read the Recent Articles of the Day by Clicking Here!
When working with epoxy to create a beautiful wood table top finish, it’s important to follow these key steps for a successful and professional-looking result:
1. Prepare the wood surface: Before applying epoxy, make sure the wood surface is clean, dry, and free of any dust, dirt, or debris. Sand the wood to remove any rough spots or imperfections, and ensure it is smooth and ready for the epoxy application.
2. Use a high-quality epoxy resin: Invest in a high-quality epoxy resin specifically designed for wood applications. This will ensure a durable and long-lasting finish that won’t yellow or crack over time.
3. Mix the epoxy properly: Follow the manufacturer’s instructions for mixing the epoxy resin and hardener. Be sure to mix thoroughly and consistently to ensure a proper chemical reaction and strong bond.
4. Apply the epoxy in thin layers: When applying the epoxy to the wood surface, use a foam brush or roller to spread the epoxy in thin, even layers. This will help prevent air bubbles and ensure a smooth finish.
5. Allow for proper curing time: After applying the epoxy, allow it to cure according to the manufacturer’s instructions. This typically involves keeping the workspace dust-free and at a consistent temperature for the specified amount of time.
6. Sand and polish the epoxy: Once the epoxy has cured, sand the surface lightly with fine-grit sandpaper to remove any imperfections or rough spots. Finish with a polishing compound to bring out the shine and depth of the epoxy finish.
By following these steps and taking the time to properly prepare, apply, and finish the epoxy, you can create a beautiful wood table top that will be a stunning addition to your home or office space.

Frequently Asked Questions: How to epoxy wood table top
What materials are needed for epoxy wood table top finishing?
You will need epoxy resin, hardener, a mixing container, stirring sticks, a brush or squeegee for application, sandpaper, and a level surface to work on.
How do I prepare the wood surface for epoxy coating?
You should start by thoroughly cleaning the wood surface to remove any dirt, oils, or contaminants. Sand the surface to create a rough texture so the epoxy bonds better.
Can epoxy table tops be customized with different colors or designs?
Yes, epoxy table tops can be customized with a wide variety of colors and designs. Different pigments and techniques can be used to create unique and personalized looks.
How long does it take for epoxy to cure on wood?
Epoxy typically takes 24-72 hours to cure completely on wood, but optimal curing time can vary based on temperature, humidity, and type of epoxy used.
So, what do you think about this subject? Share your opinion in the comments and let’s continue discussing together!


