Creating Your Own Ocean Resin Table
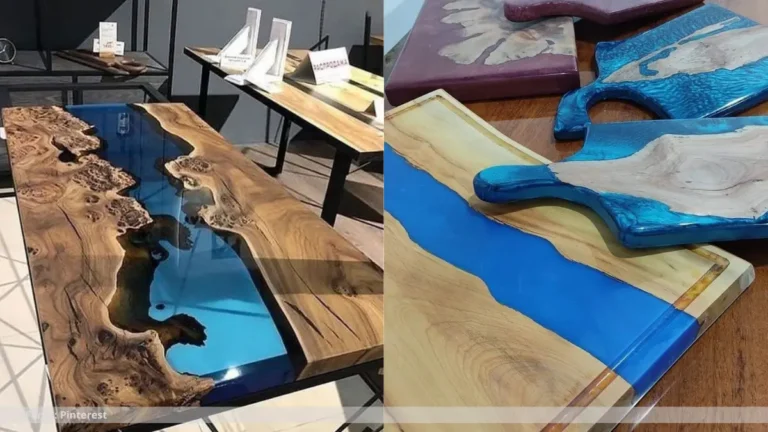
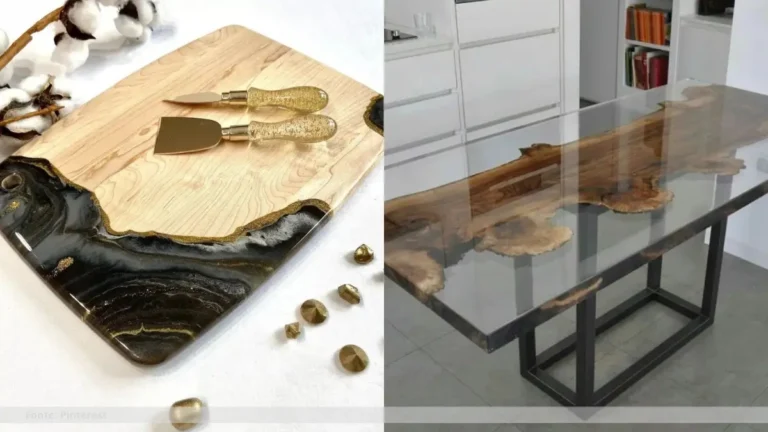
Are you looking to add a touch of the ocean to your home decor? A stunning ocean resin table could be the perfect way to bring the beauty of the sea into your living space. In this step-by-step guide, we will show you how to create your own ocean resin table that will surely impress your guests.
Gathering Your Supplies
Before you can start your ocean resin table project, you will need to gather all the necessary supplies. You will need a wooden table top, epoxy resin, ocean-themed decorations such as seashells and sand, mixing cups and sticks, a heat gun, and protective gear such as gloves and a mask.

Preparing Your Workspace
Creating an ocean resin table can be a messy process, so it is important to prepare your workspace properly. Cover your work surface with a plastic drop cloth and make sure you have good ventilation in the room.
How to Make Ocean Resin Table
To begin creating your ocean resin table, start by mixing your epoxy resin according to the manufacturer’s instructions. Once the resin is mixed, pour it onto the wooden table top and spread it evenly with a spatula. Next, sprinkle your ocean-themed decorations onto the resin, arranging them in a way that resembles the ocean. Use a heat gun to remove any air bubbles from the resin and allow it to cure according to the manufacturer’s instructions.
Creating your own ocean resin table can be a fun and rewarding DIY project that will add a unique touch to your home decor. With the right supplies and a little creativity, you can create a stunning piece of furniture that will surely wow your guests. So why wait? Get started on your ocean resin table project today!
Read the Recent Articles of the Day by Clicking Here!
One important suggestion for creating an ocean resin table is to carefully plan and design your layout before starting the project. Take the time to sketch out your desired ocean-inspired design and color scheme, making sure to consider the placement of different elements such as shells, sand, and glitter. This will help ensure that your finished table has a cohesive and visually appealing look.
Additionally, it is essential to use high-quality epoxy resin and pigments specifically designed for creating resin art. Cheaper or inferior products may not provide the same level of clarity, durability, and UV resistance, resulting in a less professional-looking finish that may not hold up over time.
Another important step is to properly prepare and seal your chosen tabletop surface before pouring the resin. This will help prevent any leaks or bubbles from forming and ensure a smooth and even surface for the resin to adhere to. Properly following the manufacturer’s instructions for mixing and applying the resin is also crucial for achieving the best results.
Finally, be patient and allow ample time for the resin to cure fully before using your table. This can take anywhere from 24 to 72 hours, depending on the specific product you are using and the environmental conditions. Rushing this step can result in a tacky or uneven finish, so it is essential to follow the recommended curing times carefully.
By following these suggestions and taking your time to carefully plan and execute each step of the process, you can create a stunning ocean resin table that will be a beautiful and unique addition to your home decor.

Frequently Asked Questions: How to make ocean resin table
What supplies do I need to make an ocean resin table?
To make an ocean resin table, you will need epoxy resin, pigments or dyes, a wooden table, protective gear like gloves and a mask, a heat gun, and a sander.
Can I customize the colors and designs of the table?
Yes, you can customize the colors and designs of the table. Many furniture stores offer customization options to help you create a personalized and unique piece.
How long does it take for the resin to cure?
The curing time of resin varies depending on the type of resin used. Generally, it can take anywhere from 24 hours to several days for the resin to fully cure.
Do you have tips for avoiding bubbles in the resin?
To avoid bubbles in resin, it’s important to stir slowly, use a heat gun or torch to remove bubbles, work in a warm environment, and pour in thin layers.
So, what do you think about this subject? Share your opinion in the comments and let’s continue discussing together!