How to River Table
What is a River Table?
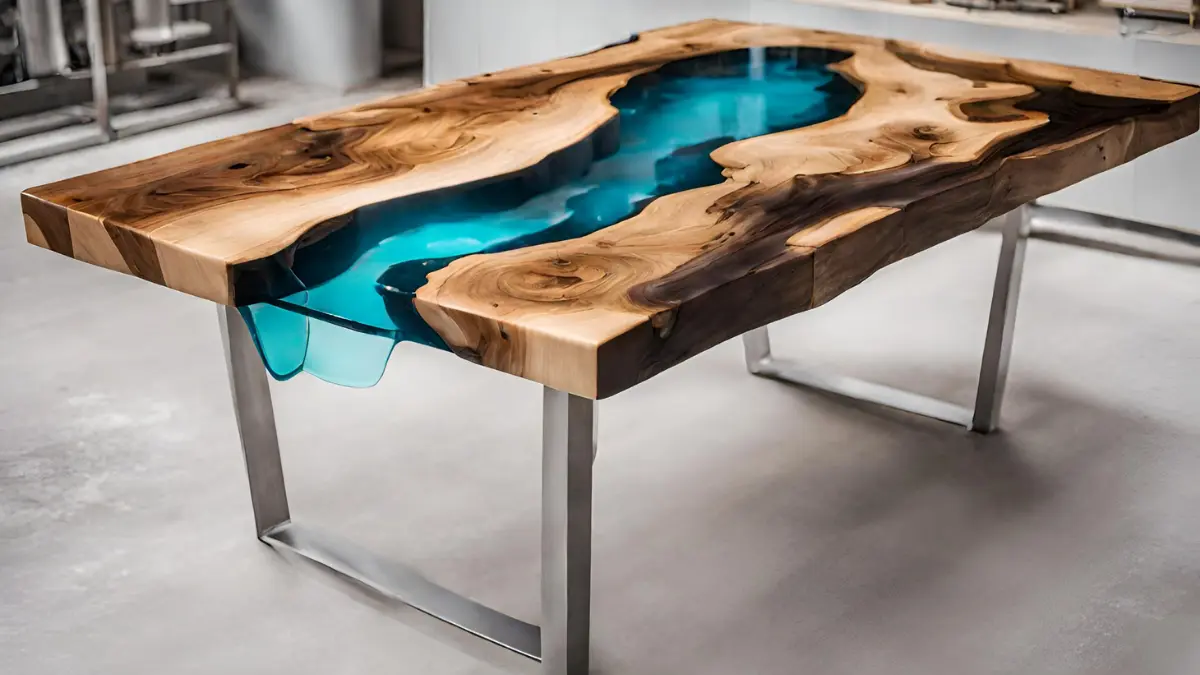
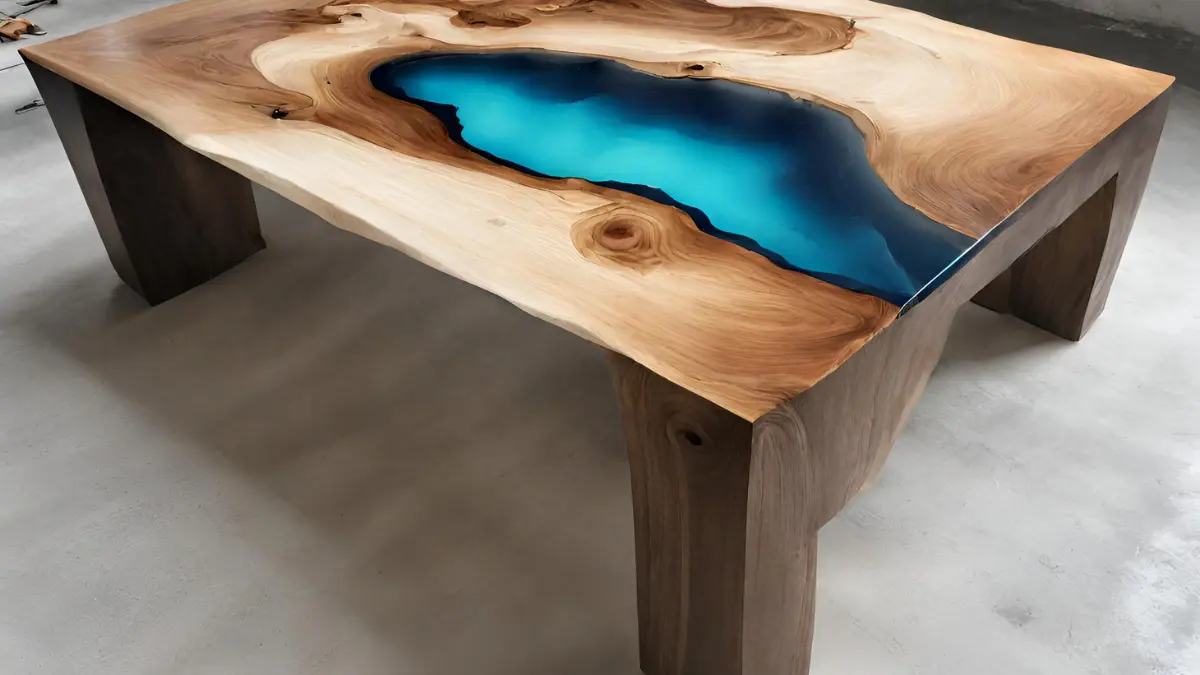
A river table is a unique piece of furniture that combines wood and epoxy resin to create a stunning, one-of-a-kind look. The resin is poured into a groove cut into the wood, creating the appearance of a flowing river. These tables are not only functional but also serve as a beautiful piece of art in any space.
Materials Needed
To create your own river table, you will need the following materials:
– Wood slab
– Epoxy resin
– Pigment powders
– Mixing cups and stir sticks
– Sandpaper
– Hand saw or router
– Blow torch (optional)
– Protective gear (gloves, mask, goggles)
How to River Table
To create a river table, follow these steps:
Choose a wood slab: Select a wood slab that is the desired size and shape for your table.
Cut the groove: Use a hand saw or router to cut a groove down the center of the wood slab where you want the river to flow.
Seal the wood: Sand down the wood slab and seal it with a clear coat to prevent any leaks.
Mix the epoxy resin: Follow the instructions on the epoxy resin packaging to mix the resin and pigment powders together.
Pour the resin: Carefully pour the resin into the groove in the wood slab, making sure to create the desired river effect.
Let it cure: Allow the resin to cure according to the instructions on the packaging.
Sand and finish: Once the resin is fully cured, sand down any rough edges and finish the table with a clear coat for added protection.
Tips for Success
– Work in a well-ventilated area when pouring epoxy resin.
– Use a blow torch to remove any air bubbles in the resin.
– Practice pouring resin on a small scale before attempting a full river table.
Creating a river table is a fun and rewarding DIY project that allows you to create a stunning piece of epoxy resin furniture. By following these steps and tips, you can create a one-of-a-kind river table that will be the envy of all your friends. So grab your materials and get started on your own river table today!
Read the Recent Articles of the Day by Clicking Here!
One important suggestion when creating a river table is to carefully plan out your design and lay out the wood pieces before pouring the epoxy resin. This will help ensure that the wood pieces fit together seamlessly and that the resin will flow evenly throughout the table. Additionally, be sure to properly seal the wood to prevent the resin from leaking out or causing any damage to the wood. Finally, take your time during the pouring and curing process to avoid any bubbles or uneven surfaces in the finished product. By following these steps, you can create a stunning and durable river table that will be a beautiful addition to any space.

Frequently Asked Questions: How to river table
What materials are needed to make a river table?
Materials needed to make a river table typically include epoxy resin, wood for the table top, dye or pigment for coloring the resin, and tools for sanding and finishing the table.
How long does it take to create a river table?
The time it takes to create a river table can vary depending on factors such as the design complexity, materials used, and the skill level of the craftsman, but typically it can take a few weeks to a couple of months.
Can beginners make a river table with epoxy resin?
Yes, beginner woodworkers can make a river table with epoxy resin with proper research, planning, and practice. It may require some trial and error, but it is possible.
Are there different styles of river tables to choose from?
Yes, there are different styles of river tables to choose from, such as live edge river tables, epoxy resin river tables, and modern river tables with sleek designs.
So, what do you think about this subject? Share your opinion in the comments and let’s continue discussing together!


