Resin Epoxy Clock: Step-by-Step Guide to Create Stunning DIY Timepiece
Resin Epoxy Clock
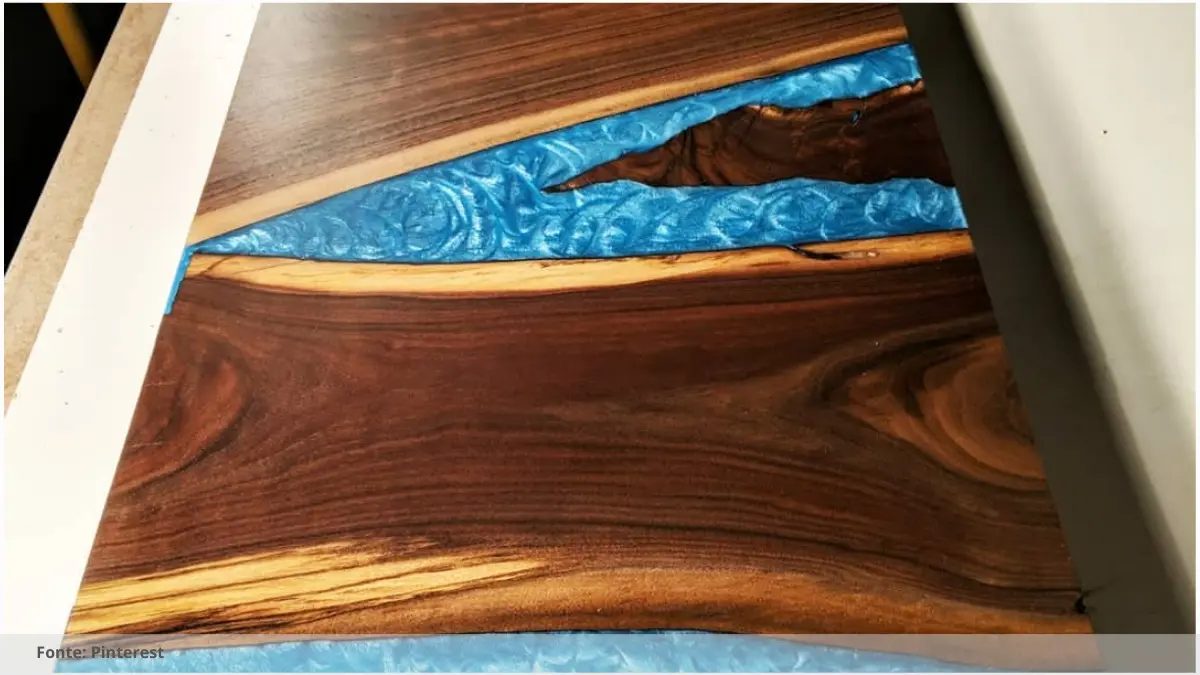
Looking for a new project to spruce up your home decor? Why not try creating your own stunning resin epoxy clock! Resin epoxy clocks have been gaining popularity for their unique and customizable designs. Not only are they functional timepieces, but they also double as beautiful pieces of art that can add a touch of elegance to any room.
Gather Your Materials
Before you get started on your resin epoxy clock project, you’ll need to gather all the necessary materials. This includes a clock mechanism, resin epoxy, a clock face mold, pigments or dyes, stirring sticks, measuring cups, and any decorations or embellishments you want to add to your clock.
Prepare Your Workspace
Creating a resin epoxy clock can get a bit messy, so it’s important to prepare your workspace beforehand. Lay down a plastic drop cloth or some old newspaper to protect your work surface. Make sure you have good ventilation in the room, as resin epoxy can have strong fumes.
Mix and Pour the Resin
Once you have your materials and workspace ready, it’s time to start creating your resin epoxy clock. Follow the instructions on the resin epoxy packaging to mix the resin and hardener together. Add any pigments or dyes to create your desired color, then pour the resin mixture into the clock face mold.
Decorate and Customize
While the resin is still wet, you can add in any decorations or embellishments to customize your clock. This could include glitter, dried flowers, or even small trinkets. Get creative and make your resin epoxy clock truly unique to your personal style!
Insert the Clock Mechanism
Once the resin has cured and hardened, it’s time to insert the clock mechanism into the back of the clock face. Follow the instructions that came with the clock mechanism to properly install it. Once the mechanism is in place, add the clock hands and set the time to complete your resin epoxy clock.
Creating your own resin epoxy clock is a fun and rewarding DIY project that can add a touch of personality to your home decor. With a few simple steps and some creativity, you can create a stunning timepiece that will definitely be a conversation starter among your guests. So gather your materials, set up your workspace, and get ready to make your own beautiful resin epoxy clock!
Read the Recent Articles of the Day by Clicking Here!
When working with Resin Epoxy to create a clock, it is important to follow a step-by-step guide to ensure a stunning end result. Here are some important suggestions to keep in mind:
1. Choose the right type of Resin Epoxy: Make sure to select a clear, high-quality resin epoxy that is suitable for creating clocks. This will ensure a glossy and durable finish.
2. Prepare your materials: Before starting the project, gather all the necessary materials such as the clock mechanism, clock hands, mixing cups, stirring sticks, and any decorative elements you plan to add to your clock.
3. Plan your design: Take some time to plan out the design of your clock before starting the resin epoxy application. Consider using different colors, adding glitter or other embellishments, and creating unique patterns for a one-of-a-kind timepiece.
4. Measure and mix the resin epoxy: Follow the manufacturer’s instructions for measuring and mixing the resin epoxy. Be sure to mix thoroughly to avoid any streaks or air bubbles in the final product.
5. Pour the resin epoxy: Carefully pour the mixed resin epoxy into the clock mold, making sure to spread it evenly and remove any air bubbles using a heat gun or torch.
6. Add clock mechanism and hands: Once the resin epoxy has cured, carefully remove it from the mold and add the clock mechanism and hands according to the manufacturer’s instructions.
7. Finishing touches: Once the clock is fully assembled, consider adding any final touches such as adding numbers, beads, or other embellishments to enhance the design.
8. Allow the clock to cure: Let the clock cure for the recommended amount of time before hanging it on the wall or using it as a desk clock. This will ensure that the resin epoxy is fully set and ready for use.
By following these steps and suggestions, you can create a stunning DIY resin epoxy clock that will be a beautiful addition to your home decor.

Frequently Asked Questions: Resin epoxy clock
What materials do I need to make a resin clock?
To make a resin clock, you will need epoxy resin, a clock mechanism, clock hands, a mold, stir sticks, measuring cups, and any additional decorative items or colors.
How long does it take for the resin to cure?
The curing time for resin varies depending on the type of resin used. Typically, it can take anywhere from 24 hours to several days for resin to fully cure.
Can I add embellishments like glitter or flowers to the clock?
Yes, you can add embellishments like glitter or flowers to the clock to personalize it and make it more aesthetically pleasing. Just make sure they are securely attached.
Are there any safety precautions I should take when working?
Yes, there are several safety precautions you should take when working, such as wearing appropriate protective gear, following proper procedures, and maintaining a clean and organized work environment.
So, what do you think about this subject? Share your opinion in the comments and let’s continue discussing together!


